Contents
Foundry Map
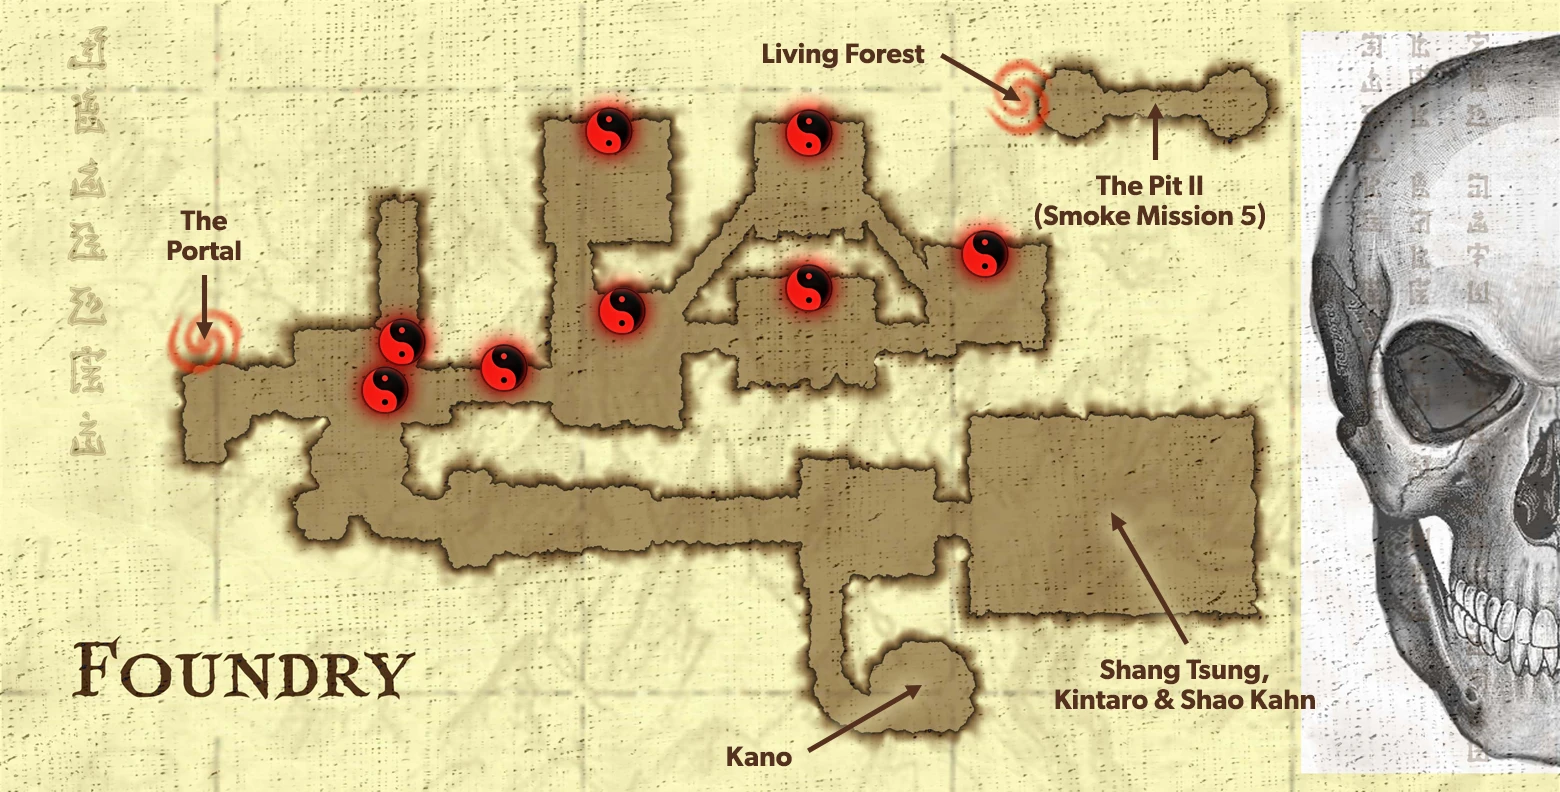
After exiting the portal, follow the pathway through the cave until you reach an open area with a glowing statue.
Save your game if necessary, then head into the cave to your right and avoid the Oni that try to hinder your progress. Complete the Test Your Might challenge to open a doorway in the vicinity halfway.
Exit the cave, then head up the ramp to your left. When you reach the top, you encounter Jax who tells you that Raiden has been guiding him on his search to find fellow Special Forces agent Sonya Blade. After your short conversation he excuses himself and disappears into the darkness.
Red Koin Location #61
Available in both single player and ko-operative playthroughs
You will notice a wooden shaft close by that is beaming light down onto the area below. Double Jump from where you stand, then use your Wall Jump ability to reach the red koin.
Reward:
Unlocks a new concept art.Red Koin Location #62
Available in both single player and ko-operative playthroughs
After collecting the previous koin, head up the ramp to your left and look for a decaying platform on stilts. Use your Wall Run ability on the wall to the left of the platform, then Double Jump at your apex to reach the red koin.
Reward:
Unlocks a new Fatality input image.Head down the hallway to your left to find three giant crushing mallets. Pass them carefully, then activate the wheel at the end to unblock the remainder of the doorway.
Backtrack down the ramp to the glowing statue and enter the tunnel in the background. Two Demon Archers will come crashing through the sidewalls in an attempt to ambush you.
Red Koin Location #63
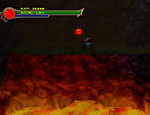
Available in both single player and ko-operative playthroughs
Throw an enemy into the cracked section of wall to the left of the tunnel to reveal a new area. Use an opponent as a platform to reach the red koin above.
Reward:
Unlocks Scorpion as a playable kombatant in Versus mode.When you are done, enter the doorway at the end of the tunnel.
Red Koin Location #64
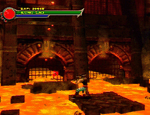
Available in both single player and ko-operative playthroughs
Climb up the wall nearby and watch the cauldrons that periodically come from the left (ignore the others in the room). When you spot an empty one, use your Double Jump ability and hit it to make a red koin appear on a platform below.
Reward:
Unlocks a new arena art.Head right and use the platforms floating nearby to cross the lava. Jump over to the platform nearby and enter the doorway.
Your attention in this new area is immediately drawn to the fireplace in the back. Continue to throw enemies into the fire until the door to your right opens, allowing you to progress.
Red Koin Location #65
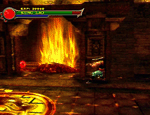
Available in both single player and ko-operative playthroughs
On the left side of the fireplace behind the wall you will find a red koin.
Reward:
Unlocks a new concept art.The next area encompasses an Orochi Hellbeast and a few Demon Generals. Ignore the Hellbeast and focus on throwing the Demon Generals onto the pair of hooks that hang from the ceiling. When you have connected with both, a pillar will rise in the right-rear corner of the room.
You now have two choices: defeat the Orochi Hellbeast or climb the pillar and ignore it.
After climbing the pillar head right and use your Long Jump ability to clear the pool of lava. Activate the Test Your Might switch at the end then head left until you reach a wall with a hanging lantern close by.
Red Koin Location #66
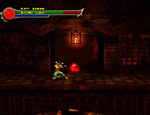
Available in both single player and ko-operative playthroughs
Use your Fist of Ruin ability on the wall to reveal a gold koin. Hit it with a projectile to make a red koin to appear.
Reward:
Unlocks a new movie.Follow the balcony around to the left until you reach another pool of lava opposite a spiked wall. Use your Wall Run and Double Jump abilities to reach the platform to your left, then enter the doorway.
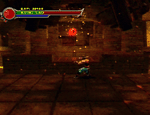
You will immediately notice a giant hammer-like device hovering above two Demon Captains and a Demon General. Be careful, as you can sustain very heavy damage in this room.
Red Koin Location #67
Available in both single player and ko-operative playthroughs
Throw an enemy into the device just as its heads collide. If you manage to crush an enemy, a red koin will appear.
Reward:
Unlocks a new concept art.When the room has been emptied, enter the doorway to your left.
You emerge in a familiar area. Follow the staircase down to the lower level, then climb up the wall to your left. When you reach the top, enter the doorway at the end.
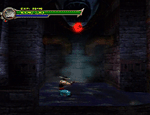
Complete the Test Your Might challenge at the back of the room, causing an axe to fall from a hook above. Pick it up and slay the demons that soon enter.
Red Koin Location #68
Available in both single player and ko-operative playthroughs
Use the axe to break the pipes in the fountain at the back of the room to reveal a koin.
Reward:
Unlocks a new concept art.Backtrack to the area with the glowing save statue, then head up the ramp to your left and follow the balcony around to the right. Continue through the doorway to find an area with two giant crystals on each side of a large door.
Using your axe, hit each crystal with a powerful attack to smash them, causing a myriad of enemies to enter the room. Defeat them all to open the door to the next area.
Head up the mammoth flight of stairs to enter a prison area where Johnny Cage and Kitana are being held captive. Suspicion gets the better of your kombatants and they do battle, believing that the other is Shang Tsung. Raiden appears to interrupt the fight and tell you that Shang Tsung has deluded you into feeding him soul after soul, thus empowering him.
His outburst is interrupted after being hit with a strong projectile. A large figure emerges from the heavily lit doorway and introduces himself as Shao Kahn. He invites you to come fight Shang Tsung, before walking through doorway toward the sound of a cheering crowd.
To the left of Johnny Cage’s cell you will find a glowing save statue. It is highly recommended that you take this opportunity to save your game.
If you would like to face Kano and earn a health upgrade that will be of great benefit to you during your final battle, see the Secret Boss Battles section.
When you feel that you are ready, head down the hallway and enter brightly lit doorway.
You emerge in Kahn’s Arena, surrounded by thousands of spectators. After your short conversation with Shao Kahn, Raiden appears and attacks your kombatants. It is soon revealed that it was not Raiden who attacked you but Shang Tsung. He laughs at your gullibility before challenging you to Mortal Kombat.
Boss Fight
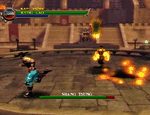
Shang Tsung
Shang Tsung will take the forms of many warriors during this fight, including Sub-Zero, Johnny Cage and Reptile. Worse still, he also has the ability to use their special moves. Fortunately you should have a good idea of how Sub-Zero and Reptile fight as you faced them earlier.
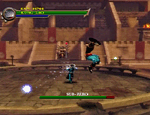
When Shang Tsung fights as himself he has the ability to launch fast projectiles in many different forms. If he summons fireballs from the ground, keep your distance and fire projectiles at him. Sometimes he will fire between one and three fireballs directly at you, which are easily avoided by running out of the way. He also has the ability to shoot many in a small arc; in this instance use your Double Jump ability to clear them. In any event, keep your distance from him at all times.
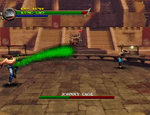
The first kombatant Shang Tsung will morph into is Sub-Zero. As before, Sub-Zero has a deadly Freeze and Icy Slide move that will leave you vulnerable to attack. Make use of your projectiles, then move in at the right moment and unleash a few pop-up and quick attacks. The trick is not to overuse any one kind of move as it will get the better of you.
Perhaps your most difficult challenge is when Shang Tsung morphs into Johnny Cage, as you have never fought him before (unless of course you fought Ermac at an earlier stage). Dodge his fireballs and fight him using long-range projectiles, as his Shadow Uppercut and Shadow Kick moves give him the upper hand in close kombat.
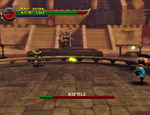
Reptile is probably the easiest to predict, so make use of this opportunity to deal maximum damage to Shang Tsung. He will regularly use his Acid Spit and Force Ball moves, so dodge them and use a combination of pop-up attacks, air combos and quick attacks, remembering to not juggle him for too long.
Once Shang Tsung’s health is depleted, rid Kahn’s Arena of his worthless soul.
After Shang Tsung’s defeat, Shao Kahn stands and tells you that he impersonated Raiden while you were on your quest. The more you killed, the more powerful he became. Shang Tsung then had the intention of using this power to dethrone him and take Outworld for himself.
Shao Kahn receives inspiration from his people, and unleashes Kintaro against you.
Boss Fight
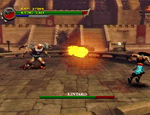
Kintaro
Your battle with Kintaro is in a way similar to your earlier bout with Goro. Like Goro, Kintaro’s brute strength means that he is impossible to knock over. Having said that, there are still a few simple tactics that can be used to help you overcome this beast.
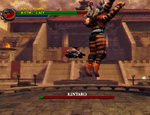
Kintaro will use his projectile attack quite often, which is a perfect opportunity for you to counterattack. Circle around the outer perimeter of the arena, making sure to keep to the outer edge. This circling not only helps you avoid his projectiles, but stops him from advancing toward you as quickly. Stop every once in a while and throw a projectile at him, and always keep your distance.
Once in a while Kintaro will launch a series of air attacks in which he jumps up and stomps in random areas of the arena. Your best tactic to avoid sustaining severe damage is to move and Double Jump wherever Kintaro last stood.
Finish him once his health has been exhausted.
The defeat of Kintaro comes as a surprise to Shao Kahn. He tells you that you can earn the freedom of your friends if you defeat him and steps into the arena to face you.
Boss Fight
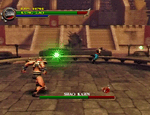
Shao Kahn
Shao Kahn is your final and toughest challenge yet. He is extremely dangerous up close, so keep your distance at all times and use your projectiles to defeat him.
Like your previous battle with Kintaro, circle around the outer perimeter of the arena to avoid Shao Kahn’s green Fireball or Shoulder Charge attacks.
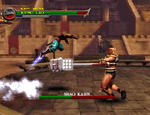
You may have noticed Kintaro’s head sitting in the arena with you. If you have the chance, pick it up and throw it at Shao Kahn to inflict big damage. Be cautious however as you can lose a lot of health trying to get to it.
It is after Shao Kahn’s health has been depleted halfway when things begin to get extremely difficult. Shao Kahn picks up his Wrath Hammer and swings it in your direction multiple times during this phase of the battle.
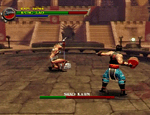
As before, circle the arena and use your projectiles to inflict damage on Shao Kahn. Periodically he will use a deadly spinning move in which he swings his giant hammer around him with great force. Be careful, as this phase is when you can lose substantial health. Use your Long Jump and Double Jump abilities to evade his hammer.
Eventually after swinging his hammer he will stop for a little while to get his breath back. Keep away from him and make use of Kintaro’s head to deal good amounts of damage.
When the emperor’s health is at its lowest point, end his domination of Outworld and finish him.
Raiden strikes Shao Kahn with a mighty bolt of lightning, instantly turning him to stone. Your kombatants finish him off with a flying kick, smashing him to pieces and releasing the trapped souls of those who fell at his hand.
Raiden tells you that Shao Kahn has been destroyed, and as a result you have brought life and prosperity for not only Earthrealm but for Outworld as well.
Kitana congratulates you, and says that she will try to rebuild this corrupt realm into what her real father envisioned.
Your kombatants take pride with them as they follow Raiden for the return trip back to Earthrealm. As the heroes leave, a surprise event takes place.
All content is Copyright © 2005-2024 Christopher Veljanovski. This guide is intended for personal use only. Any unauthorised reproduction is strictly prohibited. Special thanks to Aaron Hobbs and Tahiri Jordan Craig for their input.


