Contents
Wasteland Map
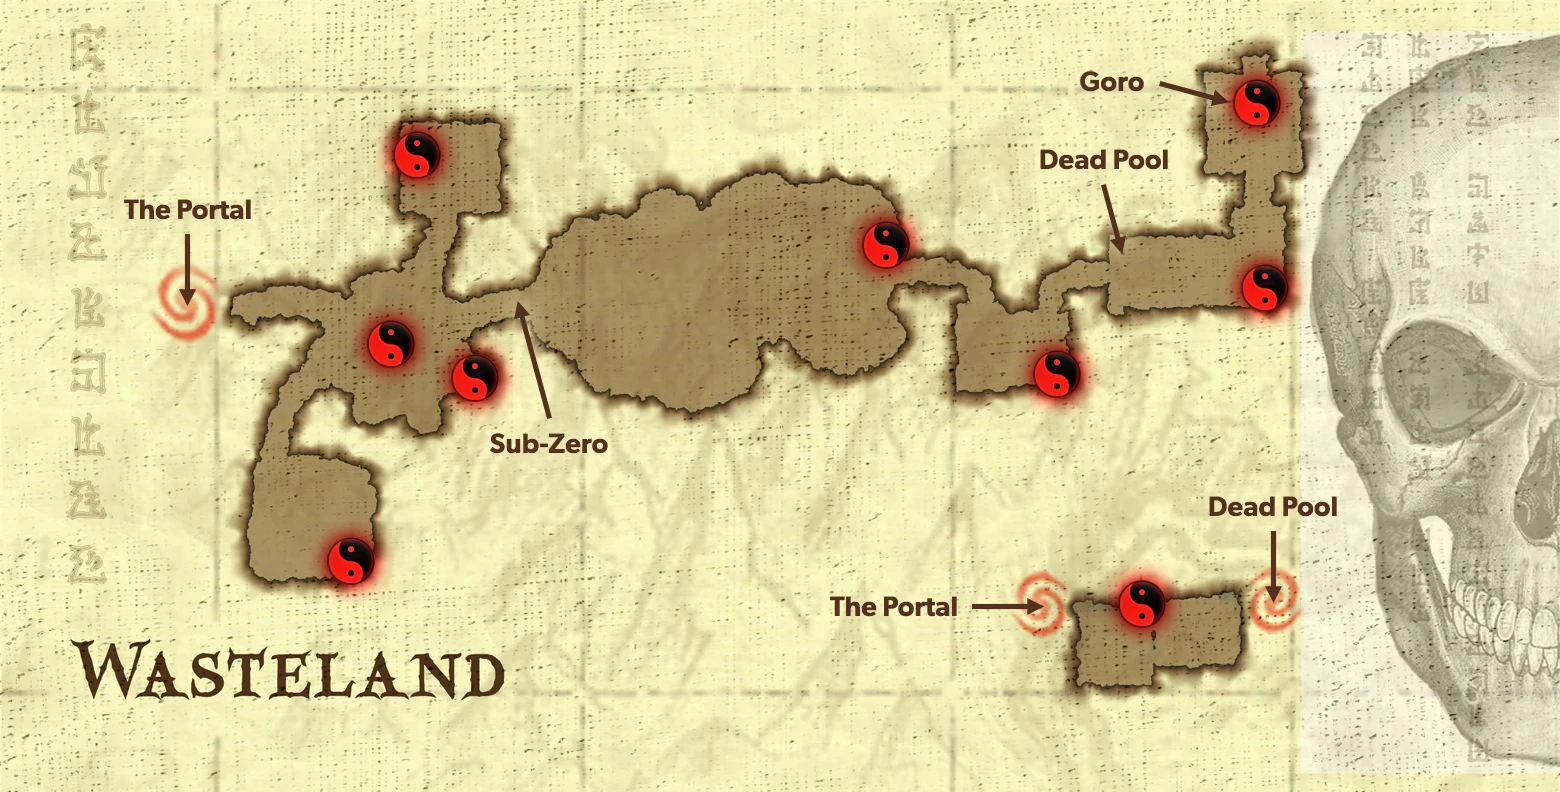
After transpiring in the Wasteland, head right to find an abundance of Black Dragon and Red Dragon Mercenaries.
The Red Dragon Mercenaries are harder of the two, as they have fast ninja-style attacks and can strike you multiple times without warning. Occasionally you can slip by unnoticed as the two are rival clans and sometimes attack each other.
Red Koin Location #51
Available in both single player and ko-operative playthroughs
Throw a mercenary onto the tall spike in the middle of the pit to make a red koin appear. You will need the Double Jump ability to collect it.
Reward:
Unlocks a new concept art.Save your game at the glowing statue close to the far wall, then head left toward a large gate. Use your Wall Climb ability to ascend the wall nearby. When you reach the top, head right and jump over the short gap.
Red Koin Location #52
Available in both single player and ko-operative playthroughs
Jump from where you stand over to the alcove nearby to collect a red koin.
Reward:
Unlocks a new Fatality input image.Head right past the bridge to the vertical shaft nearby. Use your Wall Jump ability to reach the top, then head toward the blocked tunnel nearby. If you have a weapon, use it to slice yourself a clear path, otherwise return to the lower area to find one lying about. When the pathway is clear, enter the tunnel.
This area is particularly dangerous, so keep your eyes open. You must make your way up the mountainside, avoiding the large boulders thrown at you by demons atop multiple hills. Use the ladders at the end of each level to make your way to higher ground.
At the very top you will find Kabal trapped in a cage. After freeing him, your kombatants ask if he can assist them in stopping Shang Tsung. He says that his clan needs him and that they must know that they have been betrayed by one of their own. After thanking you he walks off, leaving his hookswords behind.
Raiden appears briefly to tell you that nothing is done for no reason. He says that you are here to secure freedom for Earthrealm, and for this realm as well.
Collect the myriad of experience left behind. You may also wish to pick up the hookswords Kabal left behind close to the ladder.
Red Koin Location #53
Available in both single player and ko-operative playthroughs
To the right of the ladder near a large statue you will find a red koin.
Reward:
Unlocks a new Fatality input image.Backtrack down the mountainside and enter the tunnel at the bottom, remembering to dodge the large boulders that are still being hurtled down each level.
Travel toward the camera, then head left and jump down to the level below. Step onto the bridge in front of you, making sure to defeat the Black Dragon and Red Dragon Mercenaries that appear on each end to gain experience.
After crossing the bridge, head left to find a health upgrade koin. Once you have collected it, move toward the tunnel nearby and use your weapon to unblock it.
Upon entering this new area, you will notice the remains of many warriors laying on the ground. As you walk forward they spring to life, re-assembling themselves before your very eyes. Raiden appears, and throws his staff into the pool of blood nearby.
Elemental Knights cannot be defeated in kombat, so use the help of Raiden to defeat them. At regular intervals Raiden will summon lightning to strike his staff, electrifying the pool of blood for a short time. Lure all of the Elemental Knights into the blood pool, making sure to stay clear of the liquid whenever lightning strikes.
Once all of the Elemental Knights have been destroyed Raiden disappears, leaving you to attend to the gold plates nearby. Complete the Test Your Might challenge to unbar the entrance to this area and open a gate elsewhere.
Red Koin Location #54
Available in both single player and ko-operative playthroughs
If you re-enter this area, you will find an Oni Warlord and many Elemental Knights. Defeat the Oni Warlord to make a red koin appear in the pool of blood.
Reward:
Unlocks a new concept art.After exiting the previous area, move forward and drop down to the lowest level. You will find that the gate next to the climbing wall is now open, allowing you to progress. Enter the short tunnel and head through the doorway at the end.
You are are quickly surrounded by mounds of ice. After smashing them, your kombatants find the warrior Sub-Zero standing before them. He tells you that it does not matter who you are, as he has learnt to call everyone enemy.
Boss Fight
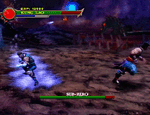
Sub-Zero
Your best chance of survival is to fight Sub-Zero using only long-range attacks, such as your projectiles and the items laying on the ground.
Sub-Zero’s deadliest move is his slide, which he does quite often. Avoid being hit, as this leaves you vulnerable to attack. Keep your distance and you should have plenty of time to dodge it.
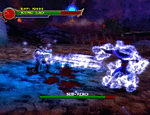
Sub-Zero also has the ability to freeze you, so make sure you dodge his projectile. There’s a good chance he will unleash a powerful move on you (such as his slide) if you are frozen.
If you find yourself too close to Sub-Zero, he may unleash his Ground Freeze move. Like his projectile, this leaves you vulnerable to attack for a certain amount of time, so it’s best to keep your distance as previously mentioned.
After the fight, Sub-Zero reveals that he is the brother of the original Sub-Zero who was killed by Scorpion after the first Mortal Kombat tournament. He says that he came to these wastelands to avenge him, and believes that he may still be alive.
Your kombatants tell Sub-Zero that you are here to stop Shang Tsung, and that your ally Kitana has been captured and needs rescuing. He tells you that if the Red Dragon have her, you will need to cross the Sea of Blood and venture deeper into the wastelands.
Sub-Zero uses his abilities to repair a sunken boat nearby, and you set off along the Sea of Blood. Countless Bloody Skeletons will invade the boat during your journey, so defeat them with the aid of Sub-Zero to gain experience or throw them off the end of the boat. Also, try to avoid the flames that shoot from the statues lining the shore.
Once the boat docks at your destination, jump out and head toward the large door.
Red Koin Location #55
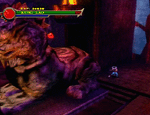
Available in both single player and ko-operative playthroughs
To the left of the large door you will find a red koin on the back of a giant lion statue. Use your Wall Run ability to reach it.
Reward:
Unlocks Sub-Zero as a playable kombatant in Versus mode.After Sub-Zero freezes the large door, use your Fist of Ruin ability to shatter it, allowing you to continue.
You emerge in an area full of Black Dragon and Red Dragon Mercenaries. After throwing one into the giant spiked wheel at the back of the room, you will notice that their blood runs into a small container.
Continue to throw the mercenaries into the spiked wheel until the container begins to overflow. Defend Sub-Zero while he freezes the blood oozing down the wall.
Once Sub-Zero has finished freezing the blood, use your Wall Climb ability to reach the platform above. Sub-Zero will remain behind and fend off the mercenaries while you make your escape.
Red Koin Location #56
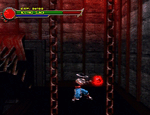
Available in both single player and ko-operative playthroughs
Use your Wall Run ability to clear the spiked wheel and collect the red koin on the other side.
Reward:
Unlocks a new concept art.Following your entry into the doorway to your left, travel down the staircase and defend Sub-Zero from the Black Dragon Mercenaries while he freezes the wall for you to clear the gap.
Once you have crossed to the other side using your Wall Run ability, Scorpion appears briefly and attacks Sub-Zero. After spotting your kombatants, he makes his escape to the Netherrealm through a portal. Sub-Zero tells you that he must hunt down Scorpion and follows him.
Red Koin Location #57
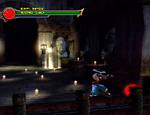
Available in both single player and ko-operative playthroughs
Travel toward the screen then look to your right to find a floating gold koin. Shoot it with a projectile to make a red koin appear.
Reward:
Unlocks a new arena art.Nearby is a glowing statue that you can use to save your game. When you are done in this area, enter the doorway between the two lamp posts to find the Shokan warrior Goro.
Boss Fight
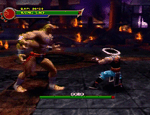
Goro
Goro’s brute strength makes fighting him at close range a bad idea. He will not fall over even if you use your strong attacks, and his punching and grab moves take large chunks from your health.
Your best bet is to keep your distance from Goro and use your projectiles. If you are feeling adventurous, you can launch quick running and jumping attacks at him, though this is not recommended.
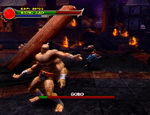
Goro has many long-range attacks, including a jumping stomp, fireballs and a charge. His fireballs are the only attack that can be blocked, though you’d be best to dodge them. He is quick to launch his charge and stomp attacks, so be ready to Long Jump out of the way should he use them.
Mid-way through the fight he will pick up a giant pillar and use it to increase the reach of his attacks. Keep your distance from him, as you can take a lot of damage from his mighty swing. If he raises the pillar vertically and you are close to him, get ready to jump as the shock-wave will leave you vulnerable to attack.
Once he has been depleted of his health, follow the on-screen instructions and finish him.
After Goro’s defeat, Johnny Cage appears and hits one of your kombatants to reveal that it was Shang Tsung who was posing as your ally.
Once he escapes, Johnny Cage reveals that it was Shang Tsung who was impersonating him during your fight against the Tarkata back in the Wu Shu Academy. He continues to say that he tried to warn you, and has kept a watchful eye since following you into the portal.
Raiden appears and says that you will find Kitana elsewhere. He asks Johnny Cage to follow him, as he has another task for him.
Upon their exit, collect the koin hovering above Goro’s body to earn the Double Jump ability. Collect the experience scattered all over this area, then leave.Red Koin Location #58
Available in both single player and ko-operative playthroughs
If you re-enter the room in which you just defeated Goro, you will find a red koin.
Reward:
Unlocks a new concept art.After leaving the previous room, Raiden appears again to tell you that Shang Tsung’s defeat is close, but there is one more task that needs completion before you challenge him. You will find the final key to his defeat in the Netherrealm; you can reach it by using the portal nearby.
Make your way over the large gap and jump into the portal to be transported to the Dead Pool.
Red Koin Location #59
Available in both single player and ko-operative playthroughs
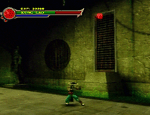
Continue to throw enemies into the acid until a red koin appears up high on a grate nearby. Jump across the acid and use your Wall Climb ability to reach it.
Reward:
Unlocks a new arena art.After collecting the red koin, take notice of five chains hanging from the ceiling with hooks on them. You will need to throw an enemy onto each hook to progress.
Once you have completed this task, collect the flaming koin to earn the Swing ability.
Head though the newly opened doorway and use your new ability to swing from pole to pole and into the vortex to re-enter the Portal.
Upon your return, make your way down and to the left until you reach the giant inscribed door. You will notice that there are now four of the required five koins embedded in it.
Continue left and use your Swing ability to make your way up the rockface using the poles. At the top you will find two Shadow Priests. Defeat them to raise a pathway to the portal leading to the Netherrealm.


