Contents
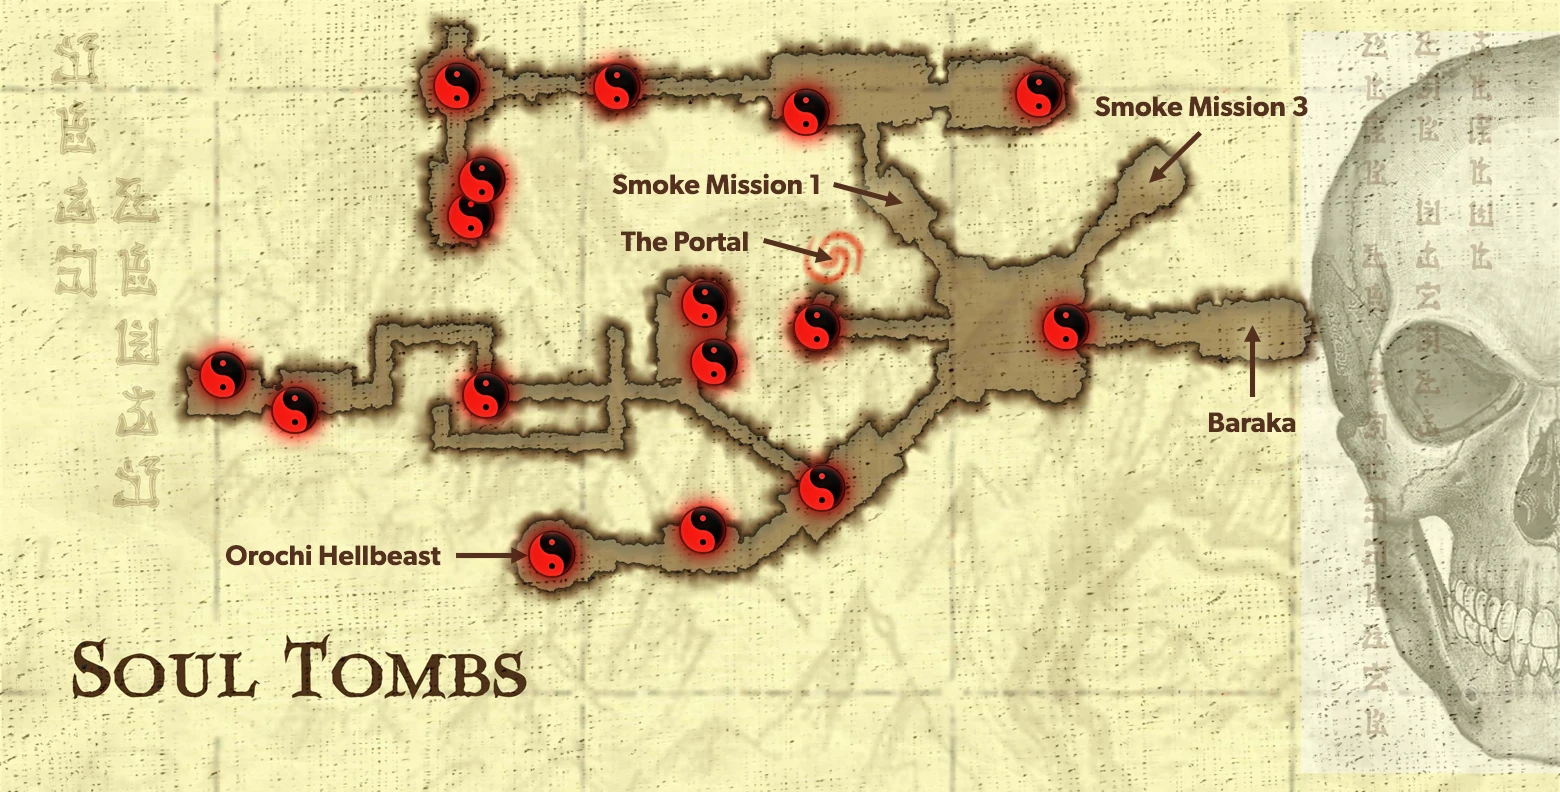
- Soul Tombs Map
- Red Koin Location #34
- Red Koin Location #35
- Red Koin Location #36
- Red Koin Location #37
- Red Koin Location #38
- Red Koin Location #39
- Red Koin Location #40
- Red Koin Location #41
- Boss Fight: Orochi Hellbeast
- Red Koin Location #42
- Red Koin Location #43
- Red Koin Location #44
- Red Koin Location #45
- Red Koin Location #46
- Red Koin Location #47
- Red Koin Location #48
- Red Koin Location #49
- Boss Fight: Baraka
- Red Koin Location #50
Soul Tombs Map
After emerging from the portal you will notice that many pterodactyl occupy the outside area of the Soul Tombs, Shang Tsung’s repository of power.
Before we step too far into the unknown, there is a red koin to collect nearby.
Red Koin Location #34
Available in both single player and ko-operative playthroughs
To the left of the portal you will find a gold koin suspended in mid-air. Shoot it with a projectile to make a red koin appear.
Reward:
Unlocks a new arena art.Follow the bridge to your right toward the towering structure and enter its front door.
Upon your entry into this building you will notice a glowing statue to your left. Save your game if you wish, then look for a doorway with a glowing red symbol above it.
There is a large abundance of Tarkata in this area that re-spawn, so unless you’re in desperate need of experience it’s a good idea to ignore them and enter the door. You emerge in a room lined with iron maiden traps.
Red Koin Location #35
Available in both single player and ko-operative playthroughs
Throw an enemy into all three iron maiden traps to make a red koin appear.
Reward:
Unlocks the Kombat Tomb arena for Versus mode.Enter the door at the back of the room between two iron maiden traps.
Dispose of the Tarkata in this new area, then use your Wall Climb ability at the back of the room to reach the balcony above.
Red Koin Location #36
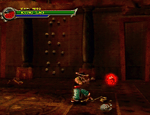
Available in both single player and ko-operative playthroughs
Hit the statue to your right with your Fist of Ruin ability to knock it to the level below. It breaks apart, revealing a red koin.
Reward:
Unlocks a new movie.Red Koin Location #37
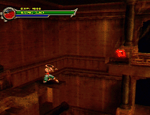
Available in both single player and ko-operative playthroughs
After collecting the previous red koin, climb back up to the balcony and head over to where the statue you broke once stood. You will notice a crippled staircase nearby. Jump across to another platform, then leap over and collect the red koin.
Reward:
Unlocks Baraka as a playable kombatant in Versus mode.Drop down, then climb the wall again. Follow the balcony around to the left and enter the doorway at the end.
You emerge in an outside area with multiple pathways and Masked Guards. Head down the spiked pathway, making sure to jump at each successive wave of spikes.
At the end of the path you will find a Test Your Might switch. Your aim here is to drop the gate on the Masked Guard in the distance.
When this has been accomplished, travel back over the spiked pathway and head left toward the newly accessible switch. Again, time your actions so that you flatten the Masked Guard.
Follow the path to the right to find another spiked pathway. At the very end you will find a final Test Your Might switch. Activate it and kill the guard to allow you access to the remaining pathway.
Make your way back to the first switch you used and follow the path around to a doorway at the end.
Red Koin Location #38
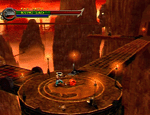
Available in both single player and ko-operative playthroughs
When you have the Double Jump ability, hit the trapezoid above the doorway to make a Shadow Priest appear near the first Test Your Might switch. Defeat the Shadow Priest to make a red koin appear.
Reward:
Unlocks a new movie.Enter the doorway to set foot in a room that contains many Tarkata.
Red Koin Location #39
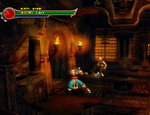
Available in both single player and ko-operative playthroughs
Throw a Tarkatan into the hooks on the roof to trigger a short cutscene, then head over to the lower left side of the room. When you obtain the Wall Run ability, climb the wall and jump to your right to collect a red koin that is hidden from view.
Reward:
Unlocks a new Fatality input image.Enter the doorway nearby to escape this area.
The next room contains a spiked ceiling with many Tarkata and Shadow Priests. Make use of the roof spikes if things become difficult.
Red Koin Location #40
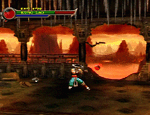
Available in both single player and ko-operative playthroughs
Throw an enemy at the railing in the background to reveal a floating gold koin. Shoot a projectile at it to make a red koin appear.
Reward:
Unlocks a new Fatality input image. After emptying this room, walk over to the Test Your Might challenge and smash the discs to open a door elsewhere in the Soul Tombs.
Backtrack to the room with the iron maiden traps and take the doorway to your left.
You emerge in a room with flames shooting through the floor’s grating. Defeat the Shadow Priest and Tarkata in this room.
Red Koin Location #41
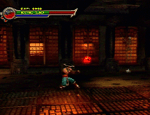
Available in both single player and ko-operative playthroughs
In the background behind the grating you will notice a Bloody Skeleton walking around. Defeat it using your projectiles to make a red koin appear.
Reward:
Unlocks a new concept art.When the enemies in this room have been disposed of, enter the doorway to your left.
Boss Fight
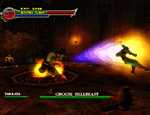
Orochi Hellbeast
You will be confronted by an Orochi Hellbeast and multiple Tarkata. The Hellbeast has the ability to consume Tarkata and recover its health, so you should focus on defeating the Tarkata first.
Once the Tarkata have been taken care of, move your attention to the Orochi Hellbeast. It is not difficult to predict its movements as it is slow and has very little in the way of attacks.
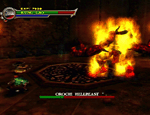
Make use of your aerial attacks and projectiles. Whenever the Hellbeast leans back and flames consume its body, retreat and use your projectiles to damage it.
The Orochi Hellbeast will regularly blow a large flame at you. Again, dodge it and use your projectiles until the flame wanes.
Continue to attack the Hellbeast until its health is depleted.
Red Koin Location #42
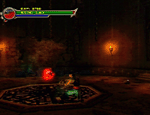
Available in both single player and ko-operative playthroughs
After defeating the Orochi Hellbeast, jump onto the pillar to your right and stand still for a few seconds while facing the centre of the room. After it crumbles, a red koin will appear.
Reward:
Unlocks a new concept art.Backtrack to the room with the save point and enter the doorway with a glowing green symbol above it.
You emerge in a room with a spiked ceiling. Defeat the Tarkata that reside here to open a doorway to your right, allowing you to advance.
Head right along the pathway until you notice a series of moving chains.
Red Koin Location #43
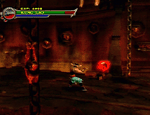
Available in both single player and ko-operative playthroughs
Impale an enemy on the hook attached to the chain in the background to make a red koin appear.
Reward:
Unlocks a new arena art.Continue right and enter the brightly lit doorway.
There are many hazards in this outdoor area, so you must move carefully. The first and most obvious are the rocks that come flying at you from the mountain in the background. Spikes also cover the ground below the ledges, so try not to miss any as you move.
Head right, jumping from ledge to ledge and avoid the green skulls that are cast toward you by the Shadow Priests. Continue forward until you reach a large platform.
Red Koin Location #44
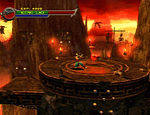
Available in both single player and ko-operative playthroughs
Throw a Tarkatan warrior into the feet of the pterodactyl that flies overhead periodically to make a red koin appear.
Reward:
Unlocks a new concept art.Make your way across the remaining ledges and enter the doorway at the end.
You will emerge in a room with a giant fan spinning overhead. Rid the area of Tarkata then enter the doorway nearby.
On the far wall you will find a large cage with spikes on its bottom. Thrust a Tarkatan into the spikes, causing it to drop.
Red Koin Location #45
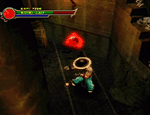
Available in both single player and ko-operative playthroughs
Smash the statue nearby using your Fist of Ruin ability to reveal a hidden hallway. At the end of it you will find a red koin.
Reward:
Unlocks the Kombat Crag arena for Versus mode.Red Koin Location #46
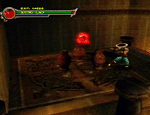
Available in both single player and ko-operative playthroughs
Once you gain the Wall Run ability, return to this area and climb up to the platform at the end of the hallway to find another red koin.
Reward:
Unlocks a new Fatality input image.Return to the main room, then jump onto the cage and use it to reach the balcony. Follow the pathway around to the left and enter the doorway at the end.
Follow the walkway, then jump off the broken staircase onto the small platform at the centre of the spinning fan. Use pop-up attacks to launch the Tarkata into the blades. This causes a blade to snap off and embed itself in a wall nearby.
Use the embedded blade to reach the balcony to your left and follow the walkway around to a large tile. Stand on it to release a large sword from a statue in an area you previously visited.
Red Koin Location #47
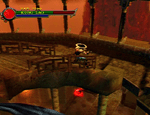
Available in both single player and ko-operative playthroughs
Return to the platform suspended over the giant blade. Use your Long Jump ability to collect the red koin suspended nearby.
Reward:
Unlocks a new Fatality input image.Backtrack to the room with the chains; on the very left side of it you will find a large sword. Pick it up and slash the two shackled bodies on each side of the doorway, allowing it to open.
Upon entering the doorway you will find Shang Tsung standing in an aura of souls. He consumes them, slashing many years off his age before escaping through a portal.
Shang Tsung leaves two Shadow Priests to deal with you; they are soon joined by a few Tarkata who appear via small portals. Ignore them and head up the staircase to Shang Tsung’s soul collecting device.
Use your Fist of Ruin ability on the device until it explodes. When you are ready, leave the room.
Red Koin Location #48
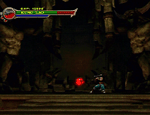
Available in both single player and ko-operative playthroughs
Re-enter the room you just left to find a red koin.
Reward:
Unlocks a new arena art.Backtrack to the room with the save statue. Two beams of light now shine at the same point on the wall nearby, revealing a hallway leading to a staircase.
Red Koin Location #49
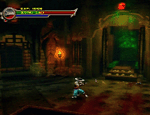
Available in both single player and ko-operative playthroughs
Above the doorway you will find a red koin. When you gain the Wall Run and Double Jump abilities, use them to reach the koin.
Reward:
Unlocks a new arena art.Enter the doorway and follow the steps up to the new area.
Upon your entry into this area you find the Tarkatan warrior Baraka impaling a helpless monk. After spotting you, he finishes off the monk and throws him in your direction, snarling in satisfaction.
Boss Fight
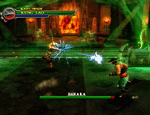
Baraka
Baraka is perhaps the most difficult boss you will have encountered so far. He’s agile and has many moves that deal large amounts of damage.
Use pop-up attacks and projectiles to inhibit his ability to attack. Keep your distance at all times unless you are moving in to attack, as Baraka’s short-range blade moves can deal huge amounts of damage. Also keep an eye out for the sparks that shoot from his blades, as getting hit by one will knock you to the ground and leave you vulnerable to his attack.
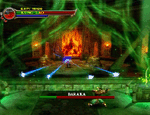
Once you have reduced Baraka’s health down to halfway, he jumps across to the back of the room and throws flaming monks at you. Use your projectiles to make short work of them and recover some health.
When Baraka begins to get low on health, he will cross over to the platform inaccessible to you and shoot multiple sparks in your direction. Dodge his attacks and make use of your projectiles to damage him.
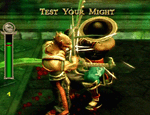
Baraka will eventually return to your platform. He will block all of your attacks, so pick one of the swords laying nearby and attack him. Avoid getting too close as he has a deadly impale move that will take large amounts of health and cause you to drop your weapon.
When a Test Your Might challenge presents itself, complete it to stun Baraka. Use this opportunity to throw your sword at him.
Now, pick up the remaining sword. Again, attack him until a Test Your Might challenge arises, then pierce the final sword into him to end the fight.
After the cutscene, a large pillar rises and a small koin appears on top. You cannot access it without the Wall Run ability, so ignore it for now and return to the Wu Shi Academy via the portal nearby.
Head down the path and climb up onto the roof of the building near the blood splatter. Jump up into the channel of water and continue to your right until you reach the statue that earlier blocked your path.
Use your Fist of Ruin ability to smash it, then jump down into the courtyard and collect the flaming koin from in front of the statue to gain the Wall Run ability.Escape the courtyard by running sideways along the adjacent wall, then return to the portal to re-enter the Soul Tombs.
Once you have returned to the Soul Tombs, use your Wall Run ability to climb up the pillar and collect the koin, earning the Wall Jump ability.
Collect the experience in this room, then backtrack all the way to the portal that earlier transported you here.
Once you emerge from the portal, head toward the screen and drop down off the large wall. When you land, enter the blue portal at the end of the pathway to your left.
You appear in another part of the Portal just in time to find Mileena and Kitana in a heated argument. Once Mileena escapes, Kitana tells you that she has fled to the Wasteland to seek help from Goro in killing her. She continues to say that Mileena is her clone, and that if she dies Mileena would take possession of her soul and identity.
After Kitana’s departure, defeat the Shadow Priests but spare a Tarkatan warrior as it will be needed to collect the next secret.
Head down the long path toward a giant door inscribed with strange characters. For every tournament victory you receive a gold koin will appear in this door. You only have three of five required, so ignore it for now.
Red Koin Location #50
Available in both single player and ko-operative playthroughs
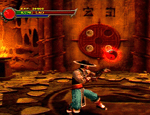
Perform a Fatality on a Tarkatan while standing on the Mortal Kombat dragon to make a red koin appear.
Reward:
Unlocks a new arena art.After collecting the koin, travel right to find a thin vertical shaft. Use your Wall Jump ability and make your way to the top.
Head left and again use your Wall Jump ability to climb the rockface.
At the top you will find two Shadow Priests and many Tarkata guarding a giant portal. Defeat the Shadow Priests to raise a pathway, allowing you access to the Wasteland.


