Contents
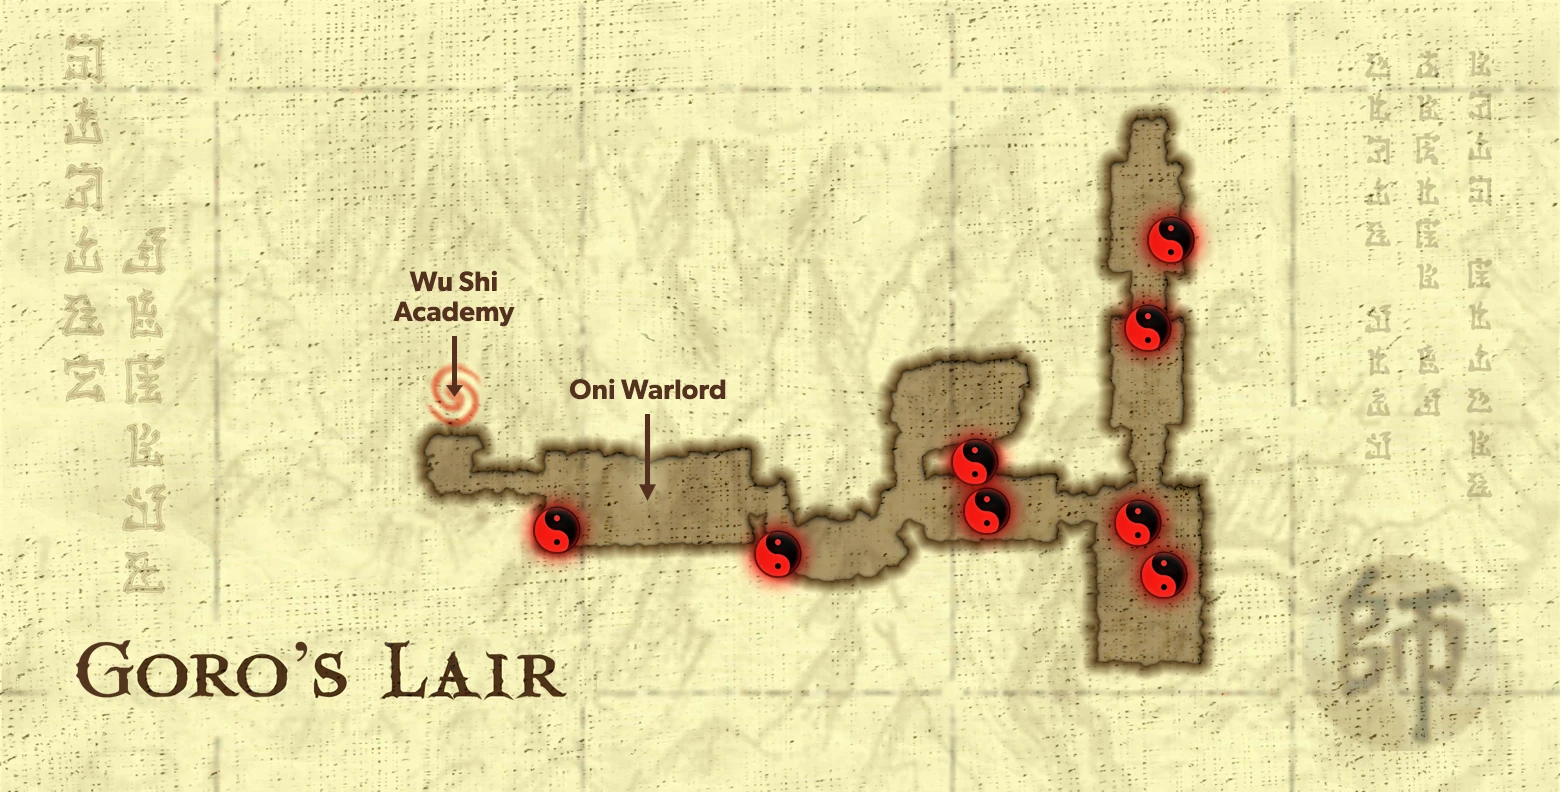
Goro’s Lair Map
Your adventure begins immediately after the events of the opening sequence. After falling through the floor, you take control of your character in Goro’s Lair. It is here that you will learn the basic attacks you will need to successfully complete your journey.
After your hard landing, the thunder god Raiden appears. He tells you that Shang Tsung is a poor loser, and that this place is one of his traps. He continues by saying that you need to find a way off the island before it crumbles into the sea, and to make your way toward the Wu Shi Academy. He then disappears, leaving a blue koin behind.
Move forward and collect the blue koin, instigating a group of Oni to jump out from the darkness. Defeat them, then collect another blue koin that will appear near a pile of skulls. More Oni will appear.
Red Koin Location #1
Available in both single player and ko-operative playthroughs
Throw or hit an Oni into the skeleton hanging on the wall to make a red koin appear.
Reward:
Unlocks a new concept art.After defeating them, collect the final blue koin and defeat the Oni that appear. Once all Oni have been taken care of, the gate nearby will open allowing you to continue.
Collect the blue koin in the next room. Raiden instructs you that you must perform a block to continue. Hold the relevant button and allow an Oni to attack you. Once you have blocked its attack, defeat it and collect the remaining blue koins that will appear after slaughtering each group of Oni. When the room is emptied, a gate to your right will open.
Red Koin Location #2
Available in both single player and ko-operative playthroughs
You may have noticed a red koin high up above the entrance to this room. You cannot access it until you gain further abilities. Return to collect this koin when you have the Wall Run ability.
Reward:
Unlocks a new movie.Continue on through the newly opened gate. You will find yourself at the lower level of a pit with a large number of spikes in the background. Defeat the Oni that occupy this area by attacking them or impaling them on the spikes.
Travel right to see a cutscene of Johnny Cage knocking an Oni off the bridge above. He urges you to follow him, as it is the way off the island.
Once the cutscene is over, climb the bloody wall nearby and dispose of the Oni. Follow the narrow path and climb up to the highest level using the small ledges.
When you reach the bridge, you will encounter Reptile. He tells you that he is not a servant of Shang Tsung before vanishing in a puff of smoke.
With Reptile gone, a number of Oni will appear. Defeat them normally to gain experience, or make short work of them by using the spikes below.
Red Koin Location #3
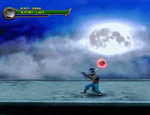
Available in both single player and ko-operative playthroughs
Shoot a projectile at the moon to make a red koin appear on the bridge.
Reward:
Unlocks a new concept art.Red Koin Location #4
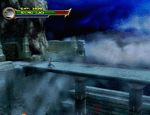
Available in both single player and ko-operative playthroughs
Travel to the other side of the bridge then drop down to the ledge below to collect another red koin.
Reward:
Unlocks a new concept art.After collecting the red koin, jump off the ledge and make your way back up to the bridge. Once there, cross it and enter the doorway at the end.
Collect the koin from under the chandelier in this new area to earn the ability to perform Fatalities.Once doing so, a gang on Oni will appear. Raiden stipulates that a Fatality must be performed in order to continue, so follow the on-screen help and perform one to open the gate.
Red Koin Location #5
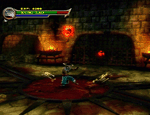
Available in both single player and ko-operative playthroughs
Knock an Oni into the chandelier hanging overhead to reveal another red koin.
Reward:
Unlocks a new concept art.You may have noticed another red koin behind a gate. You cannot access it from this room, so ignore it for now.
The next room contains many Oni amongst a large campfire and a spiked roof. Make use of the spikes or campfire if you feel that the number of Oni are too overwhelming.
Red Koin Location #6
Available only in ko-operative playthroughs
Stand on each one of the tiles nearby to make the rock face disintegrate, then use the newly accessible path to reach the doorway.
Throw an Oni into each one of the giant bells in this area to make a pathway rise. Enter the doorway on the other side, then collect the red koin you saw earlier.
Reward:
Unlocks the Goro’s Lair arena for Versus Mode.Once you have returned to the room with the spiked roof, travel to the far left side and collect the blue koin near the wall. Follow Raiden’s instructions and throw an Oni into the wall to break it.
Red Koin Location #7
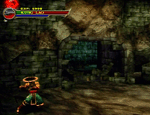
Available in both single player and ko-operative playthroughs
You will find a red koin to the left of the broken wall near the ceiling. Return to collect this koin when you have the Double Jump ability.
Reward:
Unlocks a new Fatality input image.Fight the remaining Oni to gain experience, or use the newly created route to escape this room.
You emerge near a glowing statue next to another long bridge. Approach it and press the appropriate button to save your game if you wish.
When you are done, travel left to trigger a cutscene in which two Oni jump down onto the bridge. They are soon eliminated by a large rock that crushes them and the middle section of the bridge.
Use the camera controls to examine the area below. You will notice a large sword sitting atop a rounded pedestal. Drop down and aim to land on it, as collecting this sword will make the imminent boss fight easier.
After dropping to the ground below, a giant beast smashes the wall behind you and prepares itself to do battle.
Boss Fight
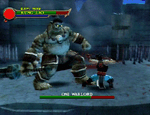
Oni Warlord
The Oni Warlord is a giant and clumsy foe. It uses a huge club to attack, so its reach is moderate and does not pose a real danger if you are good at retreating.
Use a combination of projectiles, power attacks and air combos to damage the Oni Warlord. Be careful, as standing for too long at its feet leaves you vulnerable to its mighty kick.
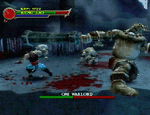
Be wary of your surroundings. You should ignore the two Oni that occupy this area as they can become a distraction. Occasionally the Oni may climb onto the Warlord’s back and use it as a medium to propel themselves at you.
One of the Oni Warlord’s deadliest moves is when it swings its club. During this time it has a very long reach, so make sure to jump out of the way then move in and attack just as it finishes.
Another move to look out for is when the Oni Warlord drops its club. This causes anything standing within a certain radius to sustain damage, so jump as it strikes the ground to avoid losing unnecessary health.
Once you have defeated the Oni Warlord, head over to the far wall and collect the flaming koin. This grants you the ability to perform a Long Jump.Walk around the bed of spikes to the left and use the ledges to reach a small pathway. Head right and use your Long Jump ability to clear the gap. Continue to the end of the path, then use the ledges to reach the upper level from which you fell from earlier.
Head left and use your Long Jump ability to clear the gap in the bridge.
Red Koin Location #8
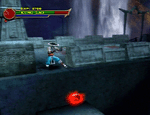
Available in both single player and ko-operative playthroughs
Continue left until you see a waterfall in the background, then head toward a small gap in the concrete wall. Drop down to a lower ledge to collect a red koin.
Reward:
Unlocks a new concept art.Head over to the bridge near the waterfall and step onto it. You will be confronted by two Masked Guards who hold the key to the portal. They are more advanced and much harder to defeat than the Oni you have dealt with so far. Study their attack patterns and watch their weapons closely to minimise the damage dealt to you.
Defeat the two Masked Guards using a range of moves. It is a good idea to avoid any kombat on the bridge as the waterfall can make your view of the battle difficult, leaving you vulnerable to their onslaught. You may also wish to perform a Fatality to gain experience and lessen the burden.
When you have successfully defeated both guards a giant portal will form nearby. Enter it and prepare to be transported to the Wu Shi Academy.


