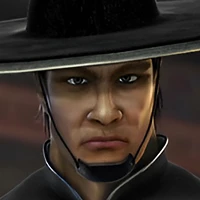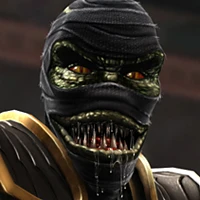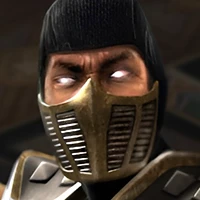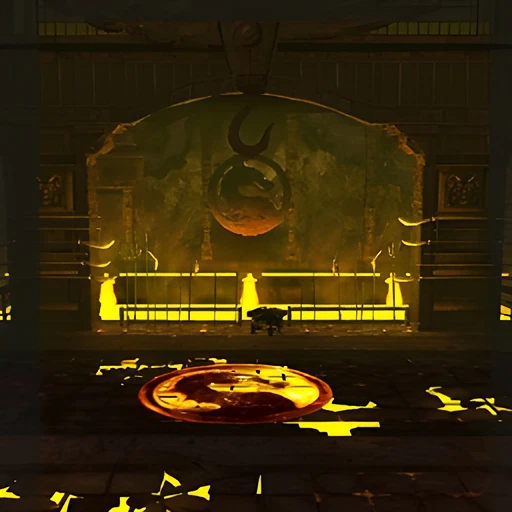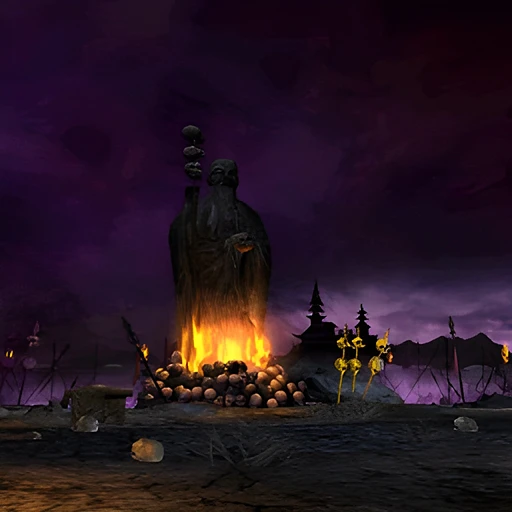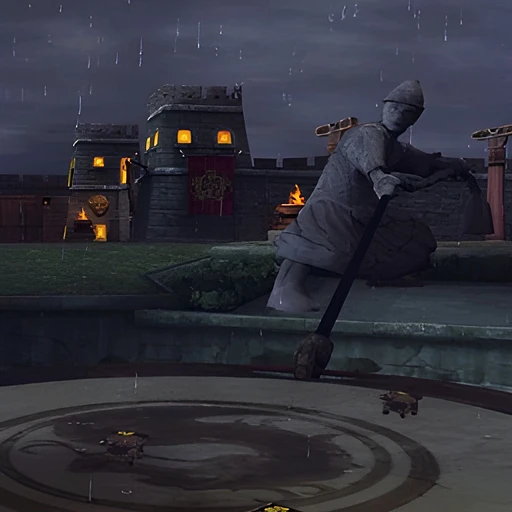
Developed largely as a side project, Mortal Kombat: Shaolin Monks is an adventure game that follows protagonists Liu Kang and Kung Lao.
Its campaign was able to be completed both in single player and ko-operative modes, with a separate classic Versus mode thrown in for good measure. The title was met with much positivity, with many fans eager to see a sequel.
Contents
Details
- Developer: Midway Studios Los Angeles
- Publisher: Midway
- Designers: Adam Puhl, John Edwards, Luke Whiteside
- Artists: Steve Beran, Tony Goskie, Mark Lappin
- Writers: John Vogel, James Krueger, Jon Greenberg
- Composers: Brian Chard, Chase Ashbaker, Rich Carle, Vincent Pontarelli
- Release date: 16 September 2005
Kombatants
MOVELIST NOTATIONS
QA  Quick AttackLA  Launch AttackPA  Power AttackJU  JumpMO  ModifierTH  Throw/  Or
SYMBOLS
Hover over/tap to display in-game notes and/or requirementsStory
In the final battle of the first Mortal Kombat tournament, Liu Kang defeated Shang Tsung and saved Earthrealm from domination. But in the confusion of a mysterious earthquake, Shang Tsung and his fellow conspirators escaped through a portal to Outworld. Kung Lao, who had been posing as a Masked Guard, helped his fellow Shaolin Monks escape the crumbling island. Liu Kang and his allies narrowly escaped with their lives.
When they returned home, the Wu Shi Academy was invaded by Baraka and his Tarkatan horde in an attempt to defy the rules of Mortal Kombat and take Earthrealm by force. Although the Shaolin Monks fended off the invasion, Raiden sensed a deeper conspiracy and urged the Shaolin Monks to defeat Shang Tsung in Outworld.
Will they succeed? Or will they succumb to Shang Tsung’s evil plot?
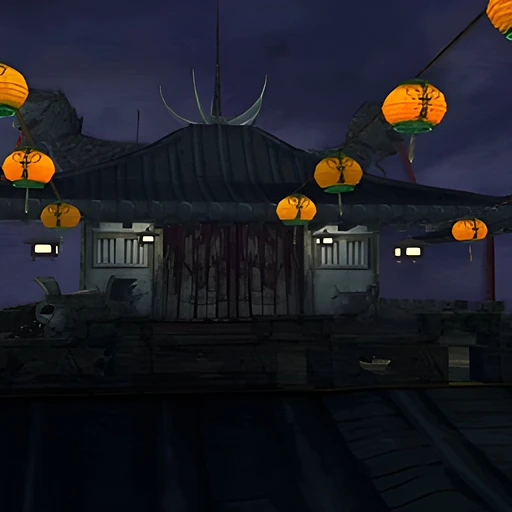
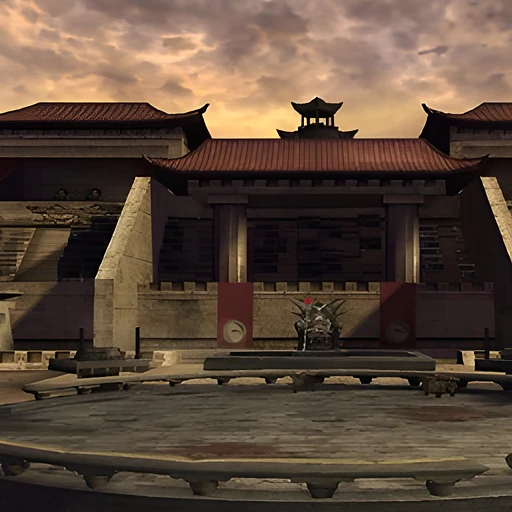
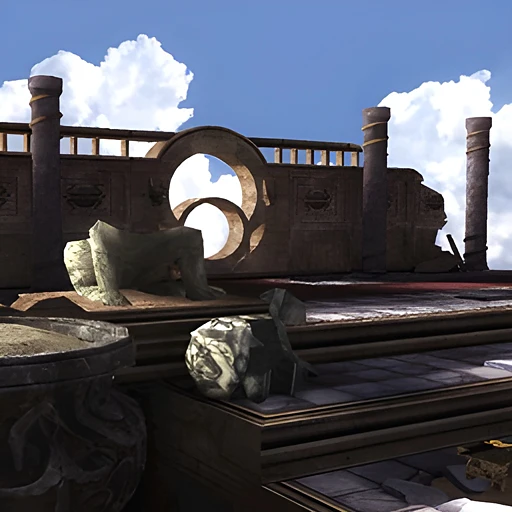
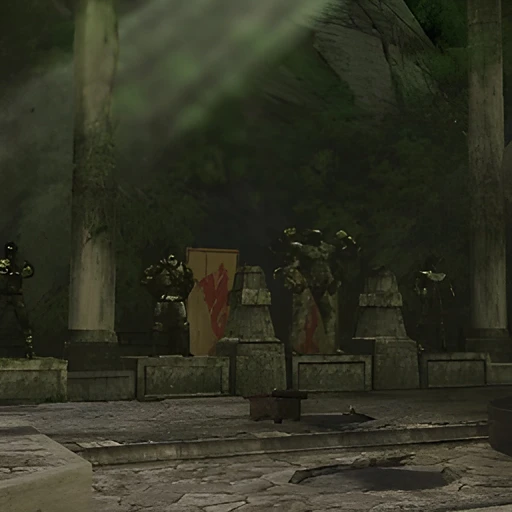
Arenas
Playguide
- Part 1: Goro’s Lair
- Part 2: Wu Shi Academy
- Part 3: Portal & Evil Monastery
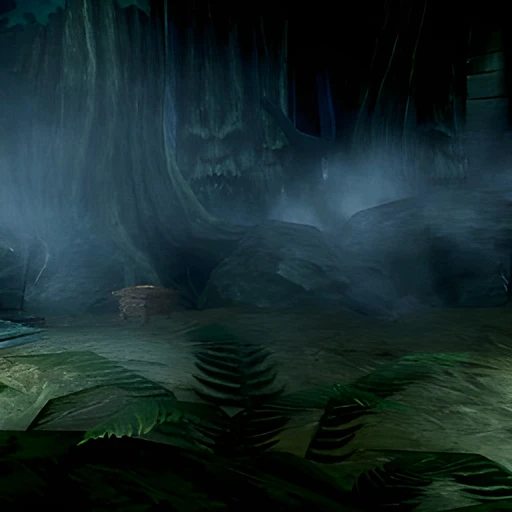
- Part 4: Living Forest
- Part 5: Soul Tombs
- Part 6: Wasteland
- Part 7: Netherrealm
- Part 8: Foundry
Secret Boss Battles
Wu Shi Academy: Ermac
Backtrack to the beginning of the area where the pathway divides into two. Take the left path and jump over the pit of spikes. Smash the statue blocking your path using your Fist of Ruin ability, then continue through the archway.
When you emerge in a new area, climb the wall to your left up to a series of bamboo frames. Using your Swing ability, make your way across to the other side. Interact with the giant statue to make the doors to the Warrior Shrine open.
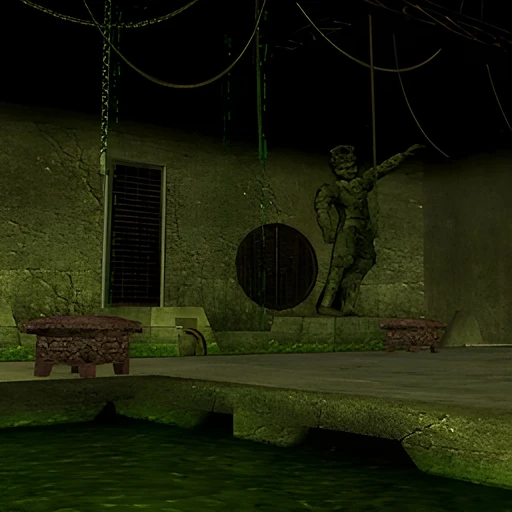
Drop down to the area below, then head across the wooden bridge into the shrine. Hop onto the rock in the far left corner and interact with the statue of Ermac three times to bring it to life.
Ermac is a powerful warrior who has many deadly attacks. His projectiles and use of telekinesis make him especially dangerous.
During the first phase of the fight, keep close to Ermac and use a combination of pop-up attacks, air combos, quick attacks and projectiles to damage him. Keep him busy, as stopping even for a short moment will give him the opportunity to launch a deadly strike.
After depleting about a quarter of his health he uses his telekinetic abilities to levitate a few large rocks. As before, keep close to Ermac and use a range of different attacks on him. If you give Ermac even a second of free space he will launch the rocks at you, dealing large amounts of damage.
Once Ermac’s health is reduced to half he will bring the statue of Johnny Cage to life. Ignore Ermac and focus on defeating Johnny Cage, making sure to keep on the move to avoid getting hit by Ermac’s attacks.
Continue to pound Ermac at a close range once Johnny Cage has been crushed. If he begins to glow green move out immediately as he will unleash a deadly radius attack.
When Ermac’s health has been exhausted, follow the on-screen instructions and finish him.
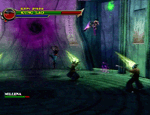
Living Forest: Mileena
Once you have the Double Jump and Swing abilities, take notice of two horizontal branches above an area close to the beginning of the Living Forest. Swing across them and climb up the ladder attached to a giant tree.
Follow the network of wooden bridges, making sure to avoid the Masked Guards and Putrid Corpses that occupy the area. At the end you will find Mileena near a large portal.
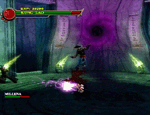
Once the battle commences, ignore Mileena and focus on ridding the area of the Masked Guards. They are capable of dealing substantial amounts of damage and can become a distraction, so defeat them using a range of different attacks.
With the Masked Guards gone you can focus your full attention on Mileena. Stay close to her and use a combination of pop-up attacks, air combos and projectiles to reduce her health.
Mileena will use her Roll and Teleport Kick moves regularly during the fight. Avoid them where possible, then move in and launch a series of deadly combos. Occasionally she will counterattack you with her Sai attack; fortunately it does not deal too much damage.
Should you find yourself low on health, use your Wall Jump ability to collect the health at the tops of two shafts at the back of the room.
When her health has been expended she escapes via the portal nearby.
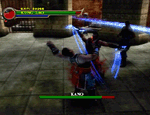
Foundry: Kano
After entering the prison area of the Foundry, head over to Kitana’s cell and interact with her four times. A door opens to your right, letting a number of Demon Handlers into the area to apprehend you. Defeat them, then enter the doorway nearby.
Upon your entry into this area you will find Jax turning a giant wheel. After a spin of the wheel the bars in front of the cells rise, releasing Sonya and Kano of their shackles.
As Jax comforts Sonya, Kano moves in and attacks Jax with his knives, infuriating him and your kombatants.
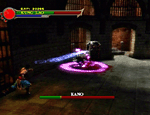
Jax assists you during this fight, so make good use of him. Although his attacks don’t deal much damage, use him to distract Kano while you launch a sneak attack from behind.
When you are close to Kano, use pop-up attacks and medium length air combos to damage him. Avoid standing still for any length of time as he has a dangerous knife move that can take a substantial amount of health from you.
Kano mainly relies on his Cannonball attack during the fight. It cannot be blocked, so make sure to evade it where possible. Refrain from attacking Kano for too long a time as he will use his Cannonball attack to knock you to the ground. Make good use of your projectiles from a distance.
Once Kano has been defeated, follow the on-screen instructions and finish him. After Jax and Sonya leave through a portal, collect the health upgrade nearby. It will be invaluable to you during your final battles.
Smoke Missions
You will find Smoke hidden within the Living Forest. Make your way to the area with four Clay Soldiers guarding an obstructed doorway next to a large river. Use your Fist of Ruin ability to break down their defences, then throw one into the doorway to unblock your path. Enter the new area to find Smoke.
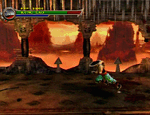
Mission 1: Break down walls to find the hidden Fatality
Head over to the Soul Tombs and enter the doorway highlighted by a glowing green icon. Throw a Tarkatan warrior into the different segments of the back wall, causing them to crumble.
When all segments have been broken, return to Smoke in the Living Forest for a reward of 500 experience points.
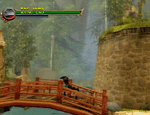
Mission 2: Destroy evil barriers to find the Warrior Shrine
Return to the Wu Shi Academy and backtrack to the beginning of the area where the pathway divides into two. Take the left path and jump over the pit of spikes. Smash the statue blocking your path using your Fist of Ruin ability, then continue through the archway. When you emerge in a new area, head over to the wooden bridge nearby to complete the mission.
Return to Smoke for a reward of 700 experience points.
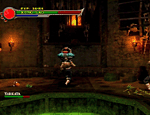
Mission 3: Perform 3 sacrifices in the torture room
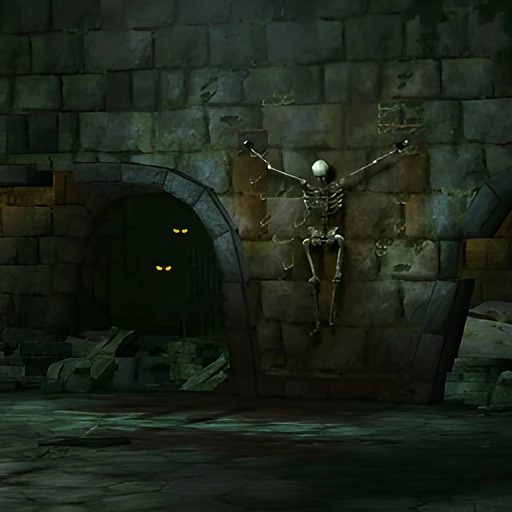
Go back to the Soul Tombs and enter the main building. A new door with a skull above it opens, allowing you access to the torture room. After entering the new area, continue toward the screen and take notice of three cavities around the room. Press your Throw and Modifier buttons at the same time to mount a Tarkatan, then press your Launch button to throw it in the air. Catch the Tarkatan mid-air then throw it into the chamber and repeat this for all three cavities to complete the mission.
Smoke rewards you 700 experience points for a job well done.
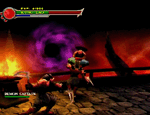
Mission 4: Find all purple portals and throw an enemy into each one
Head back to the Portal and throw a Demon Captain into each of the two purple portals. You will find one on the upper level near the portal to the Evil Monastery and the other on the lower level to the left of the giant climbing wall.
Once you have completed this mission, return to Smoke for a reward of 700 experience points.
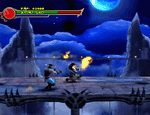
Mission 5: Enter this portal and survive in the frozen peaks
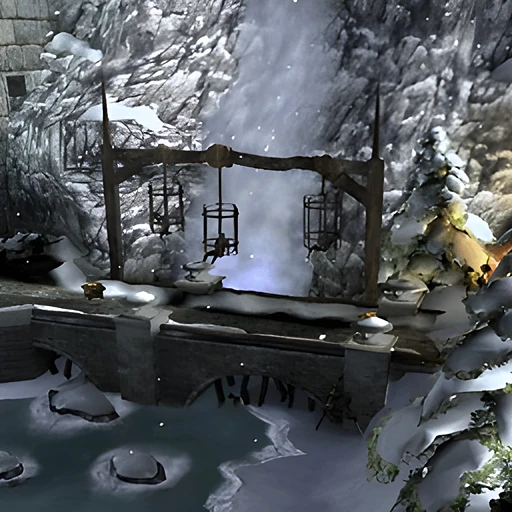
After speaking with Smoke, enter the portal nearby to be transported to The Pit II. A multitude of enemies will swamp you; defeat them or throw them off the bridge until you complete the mission.
Return to the Living Forest and approach Smoke. As a reward he will unlock Mortal Kombat II (PlayStation 2 PAL users will receive 50,000 experience points instead).


